How to Use Higgsfield AI: Your First Image-to-Video Clip
Follow a practical Higgsfield AI tutorial: prepare a reference image, direct one camera move, review the result and export a useful first video.
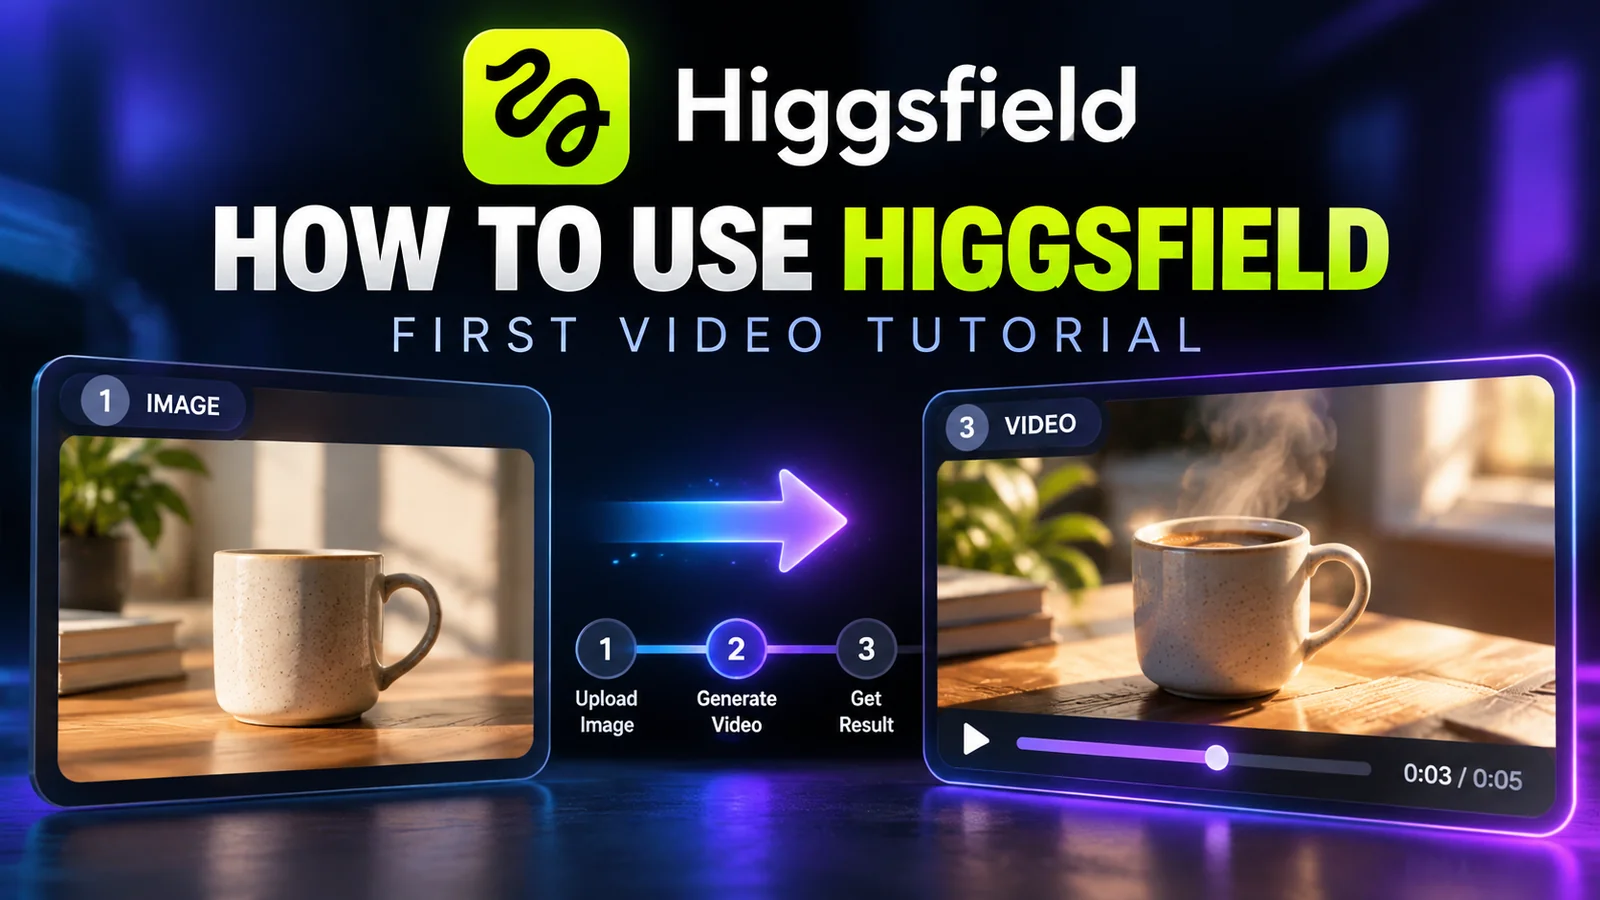
The essentials
- Begin with one image, one subject action and one camera movement so the first result is easy to evaluate.
- Check the workflow, selected model, aspect ratio and credit quote before generating.
- Inspect the entire clip and change one variable per retry; add precise text and logos during editing when possible.
On this page
To make your first Higgsfield video, start with a clear reference image, describe one simple action, choose one camera movement, check the generation cost and inspect the result before exporting. A short, controlled shot is a better learning project than a multi-scene film because each mistake is easier to diagnose.
Documentation checked September 29, 2026. The workflow and example prompts below are suggested exercises, not a report of a paid generation test.
1. Choose a deliverable you can judge
Try a short website-banner clip of a cup on a table or a simple landscape reveal. Decide where it will appear before you generate: horizontal video suits many website placements, while a vertical composition may suit a mobile feed.
Write three acceptance conditions. For the cup example, the cup must retain its shape, the camera must move smoothly, and no extra objects should appear. These conditions tell you when the clip is finished and when a retry is justified.
If you are unfamiliar with the platform, read what Higgsfield includes. If the account displays a paid requirement, check the current free-access limits and prices before following a tutorial that assumes free credits.
2. Prepare the reference image
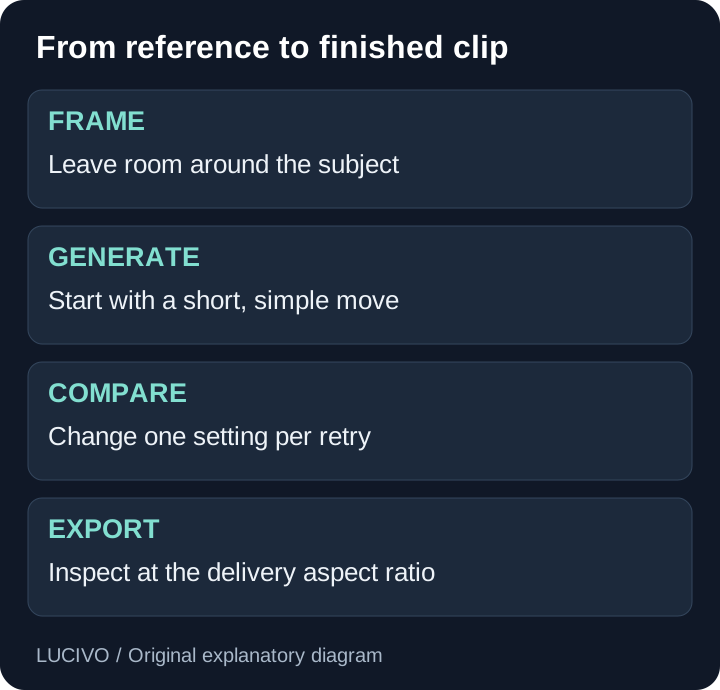
Use an image you own or have permission to upload. A clear subject, simple background and room around the edges make the first task easier to reason about. Avoid a heavily cropped object if your intended camera movement needs space beyond the frame.
Check the image at the intended output ratio before animating. A horizontal reference placed into a vertical composition can lose the subject's surroundings. Reframe the still first rather than hoping the generated motion will fix it.
Leave precision graphics for the finishing stage where possible. A product logo, tiny label or price badge creates an additional fidelity requirement in every generated frame. An editable overlay gives you direct control over spelling and alignment.
3. Open the appropriate Higgsfield workflow
Start at higgsfield.ai and use the Video area for a straightforward generation task, or Cinema Studio when you want its shot controls. Interface labels vary by model and studio version. The official beginner guide and current help center are better references than screenshots from an older release.
In an image-to-video workflow, add your image as the starting reference using the field provided. Confirm the selected model before adjusting other settings: supported inputs, durations and controls can change with that choice.
In Cinema Studio, check the version selector. Higgsfield's studio documentation identifies 4.0 as the current default and describes different capabilities for earlier versions. A tutorial's missing button can be a version mismatch rather than an account problem.
4. Write one clear motion instruction
Use this original practice prompt with a matching reference:
A plain ceramic cup rests on the wooden table in the reference.
A thin ribbon of steam rises slowly. The camera makes a gentle,
straight push toward the cup and stops before the rim fills the frame.
Keep the cup shape, table and background unchanged. One continuous shot.
The subject action is rising steam. The camera action is a push-in. Keeping them separate avoids asking the cup to move when you only want the viewer's perspective to change.
If the interface offers a camera preset, choose one that agrees with the prompt. Do not pair an orbit setting with a locked-camera instruction. See our Higgsfield camera prompts for alternatives once this baseline is understandable.
5. Set a small trial budget
Choose a short duration and a supported resolution that lets you judge the motion. Check the actual cost near the generation control before submitting. More detailed output is useful after the shot works; it does not resolve a contradictory brief.
Set a retry limit, such as three attempts for this exercise. This is an editorial suggestion, not a product limit. Save the reference and prompt with each result so you can compare changes.
For the first retry, change only one thing: the amount of camera movement, the duration or the reference. If you change all three, you lose the ability to identify which change helped.
6. Review the whole clip
Watch once at normal speed for the overall effect, then inspect the beginning, middle and end for changing details.
| Problem | First adjustment to try |
|---|---|
| Cup bends or changes shape | Reduce motion and use a clearer reference |
| Camera circles when you wanted a push | Align the preset and written camera direction |
| Subject leaves the frame | Start wider and define the stopping position |
| Background changes abruptly | Simplify the scene and reduce the reveal |
| Text becomes unreadable | Remove it from the generated scene and overlay it later |
| Scene jumps to another shot | Request one continuous shot and inspect any editing-style controls |
These are diagnostic starting points, not guaranteed repairs. If several attempts repeat the same failure, simplify the task or try a different supported model instead of spending indefinitely on the same prompt.
Why camera movement deserves attention
Physical camera movement changes perspective. A generated shot has to infer what becomes visible as the viewpoint moves, including surfaces missing from your reference. A gentle push usually asks less of that inference than a complete orbit around an object.
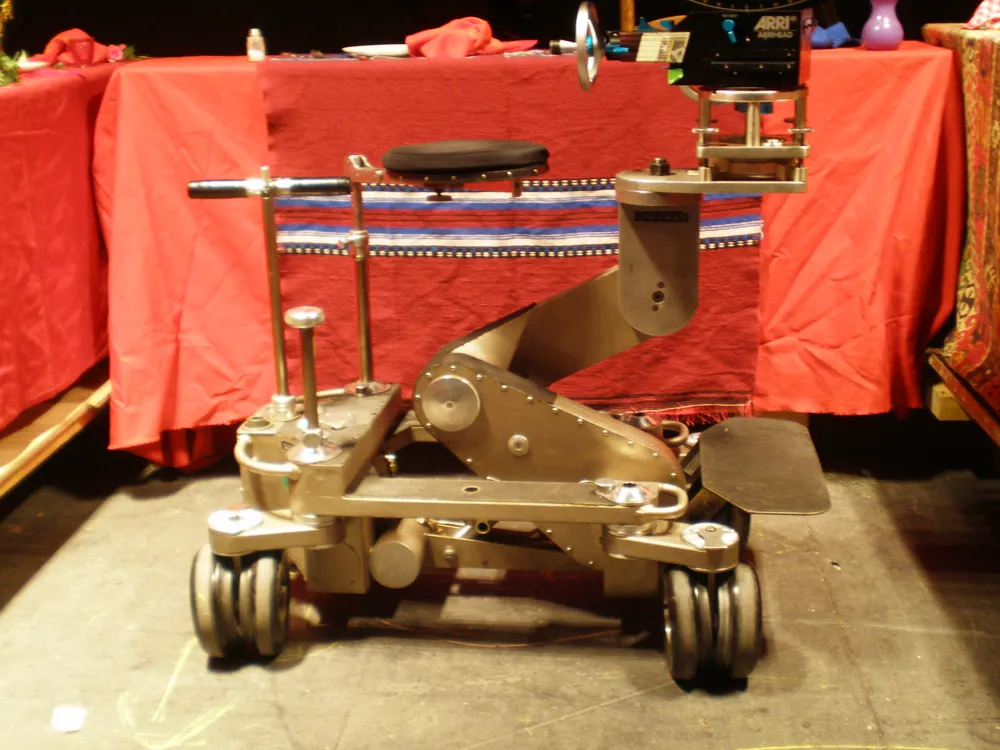

The dolly illustrates what “moving the camera” means. It is different from simply enlarging the image. Use that distinction when deciding whether the output matches your request.
7. Export and finish the video
Download the result using the available export control and open the file outside the generator. Confirm its dimensions, duration, audio and any watermark. Review the current plan conditions before assuming the file suits a commercial deliverable.
Finish the piece in your editing workflow: trim unwanted starts and stops, add exact text, balance audio and test the target crop. Check the video on a phone if that is where the audience will see it.
For a larger project, repeat this process shot by shot and keep a list of accepted assets. If you are still choosing the platform, our Higgsfield and Runway comparison provides a fair evaluation brief you can reuse.
Sources and update notes
Navigation and feature references come from Higgsfield's official site, beginner guide and Cinema Studio help linked above. Recheck this tutorial after changes to upload fields, studio versions, export options or credit presentation. The diagrams and prompt are original explanatory material; the licensed photograph shows the physical concept behind a camera move.
Common Questions & Practical Answers
Choose a small deliverable, open the official site, select an appropriate video workflow, supply a reference if supported, enter a short motion brief and check the settings and cost before generating.
Practical guides published by Lucivo, developed with AI assistance and references to official documentation. Examples are illustrative unless a guide explicitly documents a hands-on test. Check the linked sources for current product details.
Related articles
Higgsfield Prompts: 8 Camera Moves with Clear Examples
Higgsfield AI: What It Does and Who Should Use It
Higgsfield Pricing: Plans, Free Access and Credit Costs
The Weekly Breakdown
High signal AI & software stories.
Direct to your inbox. No hype.
Independent analysis of AI models, developer tools, and computing architectures. Delivered every Sunday morning. 100% free.